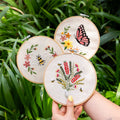
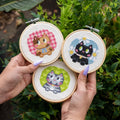
Embroidery Starter Kit
Welcome to our digital resources guide for your Embroidery Starter Kit!
If you're reading this that means you've purchased our embroidery starter kit and I couldn't me more grateful for the support. We're a small, female-owned business and your choice to shop small makes a huge difference. Thank you!
Inside Your Pack
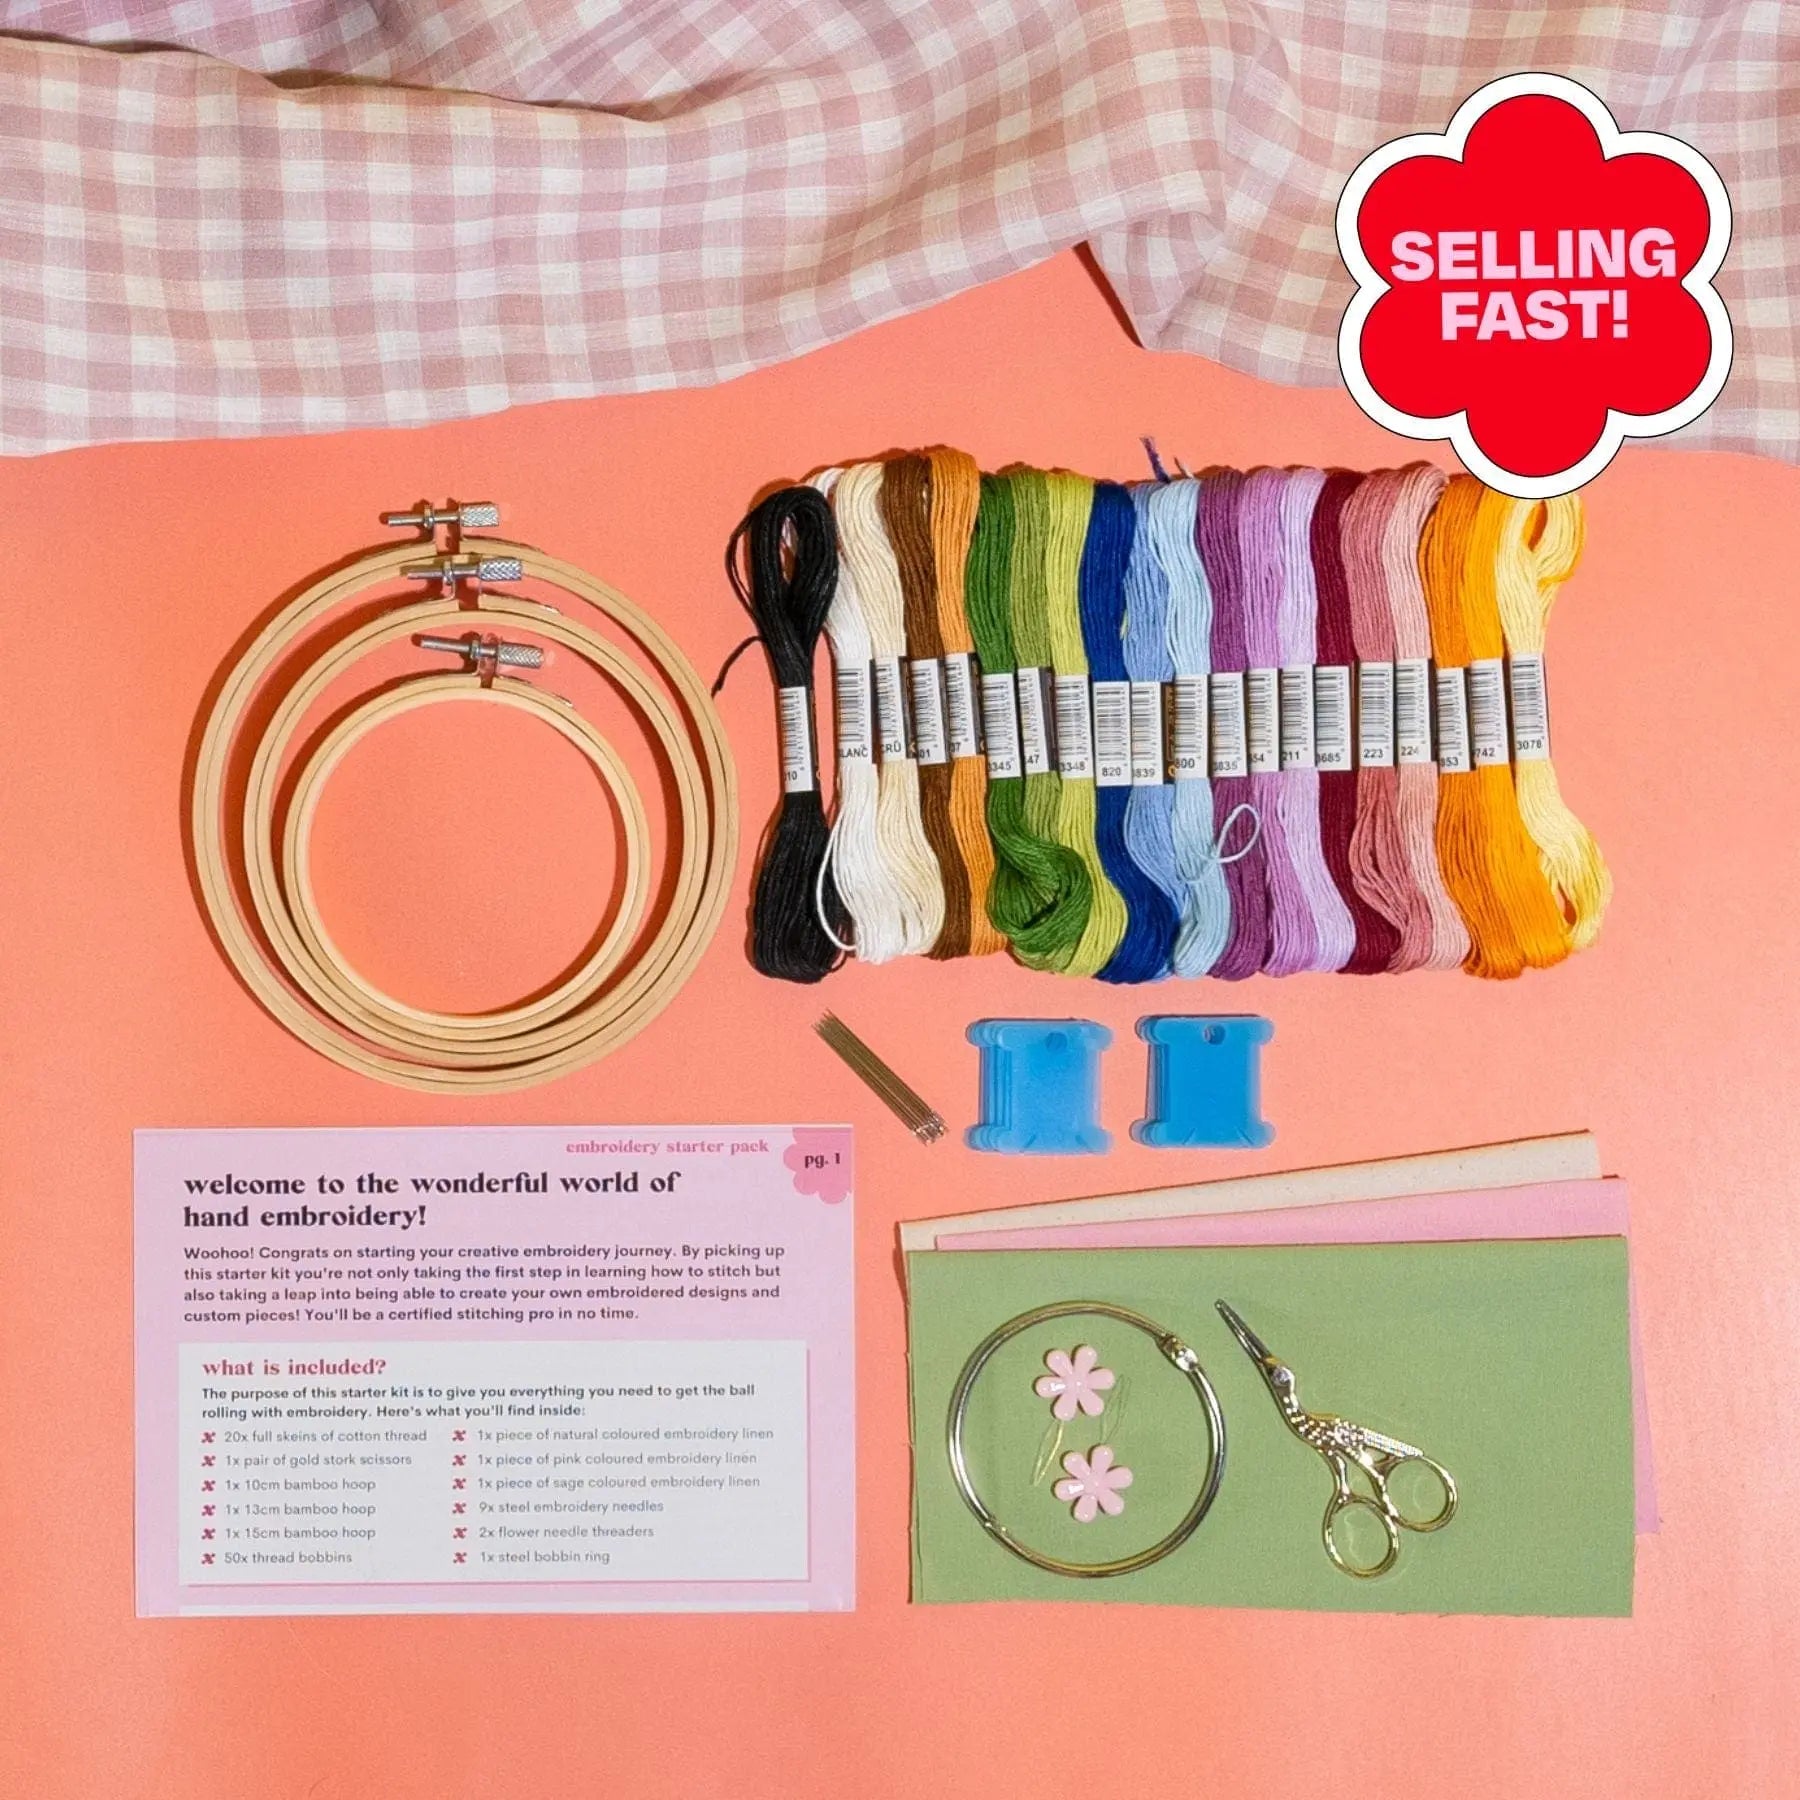
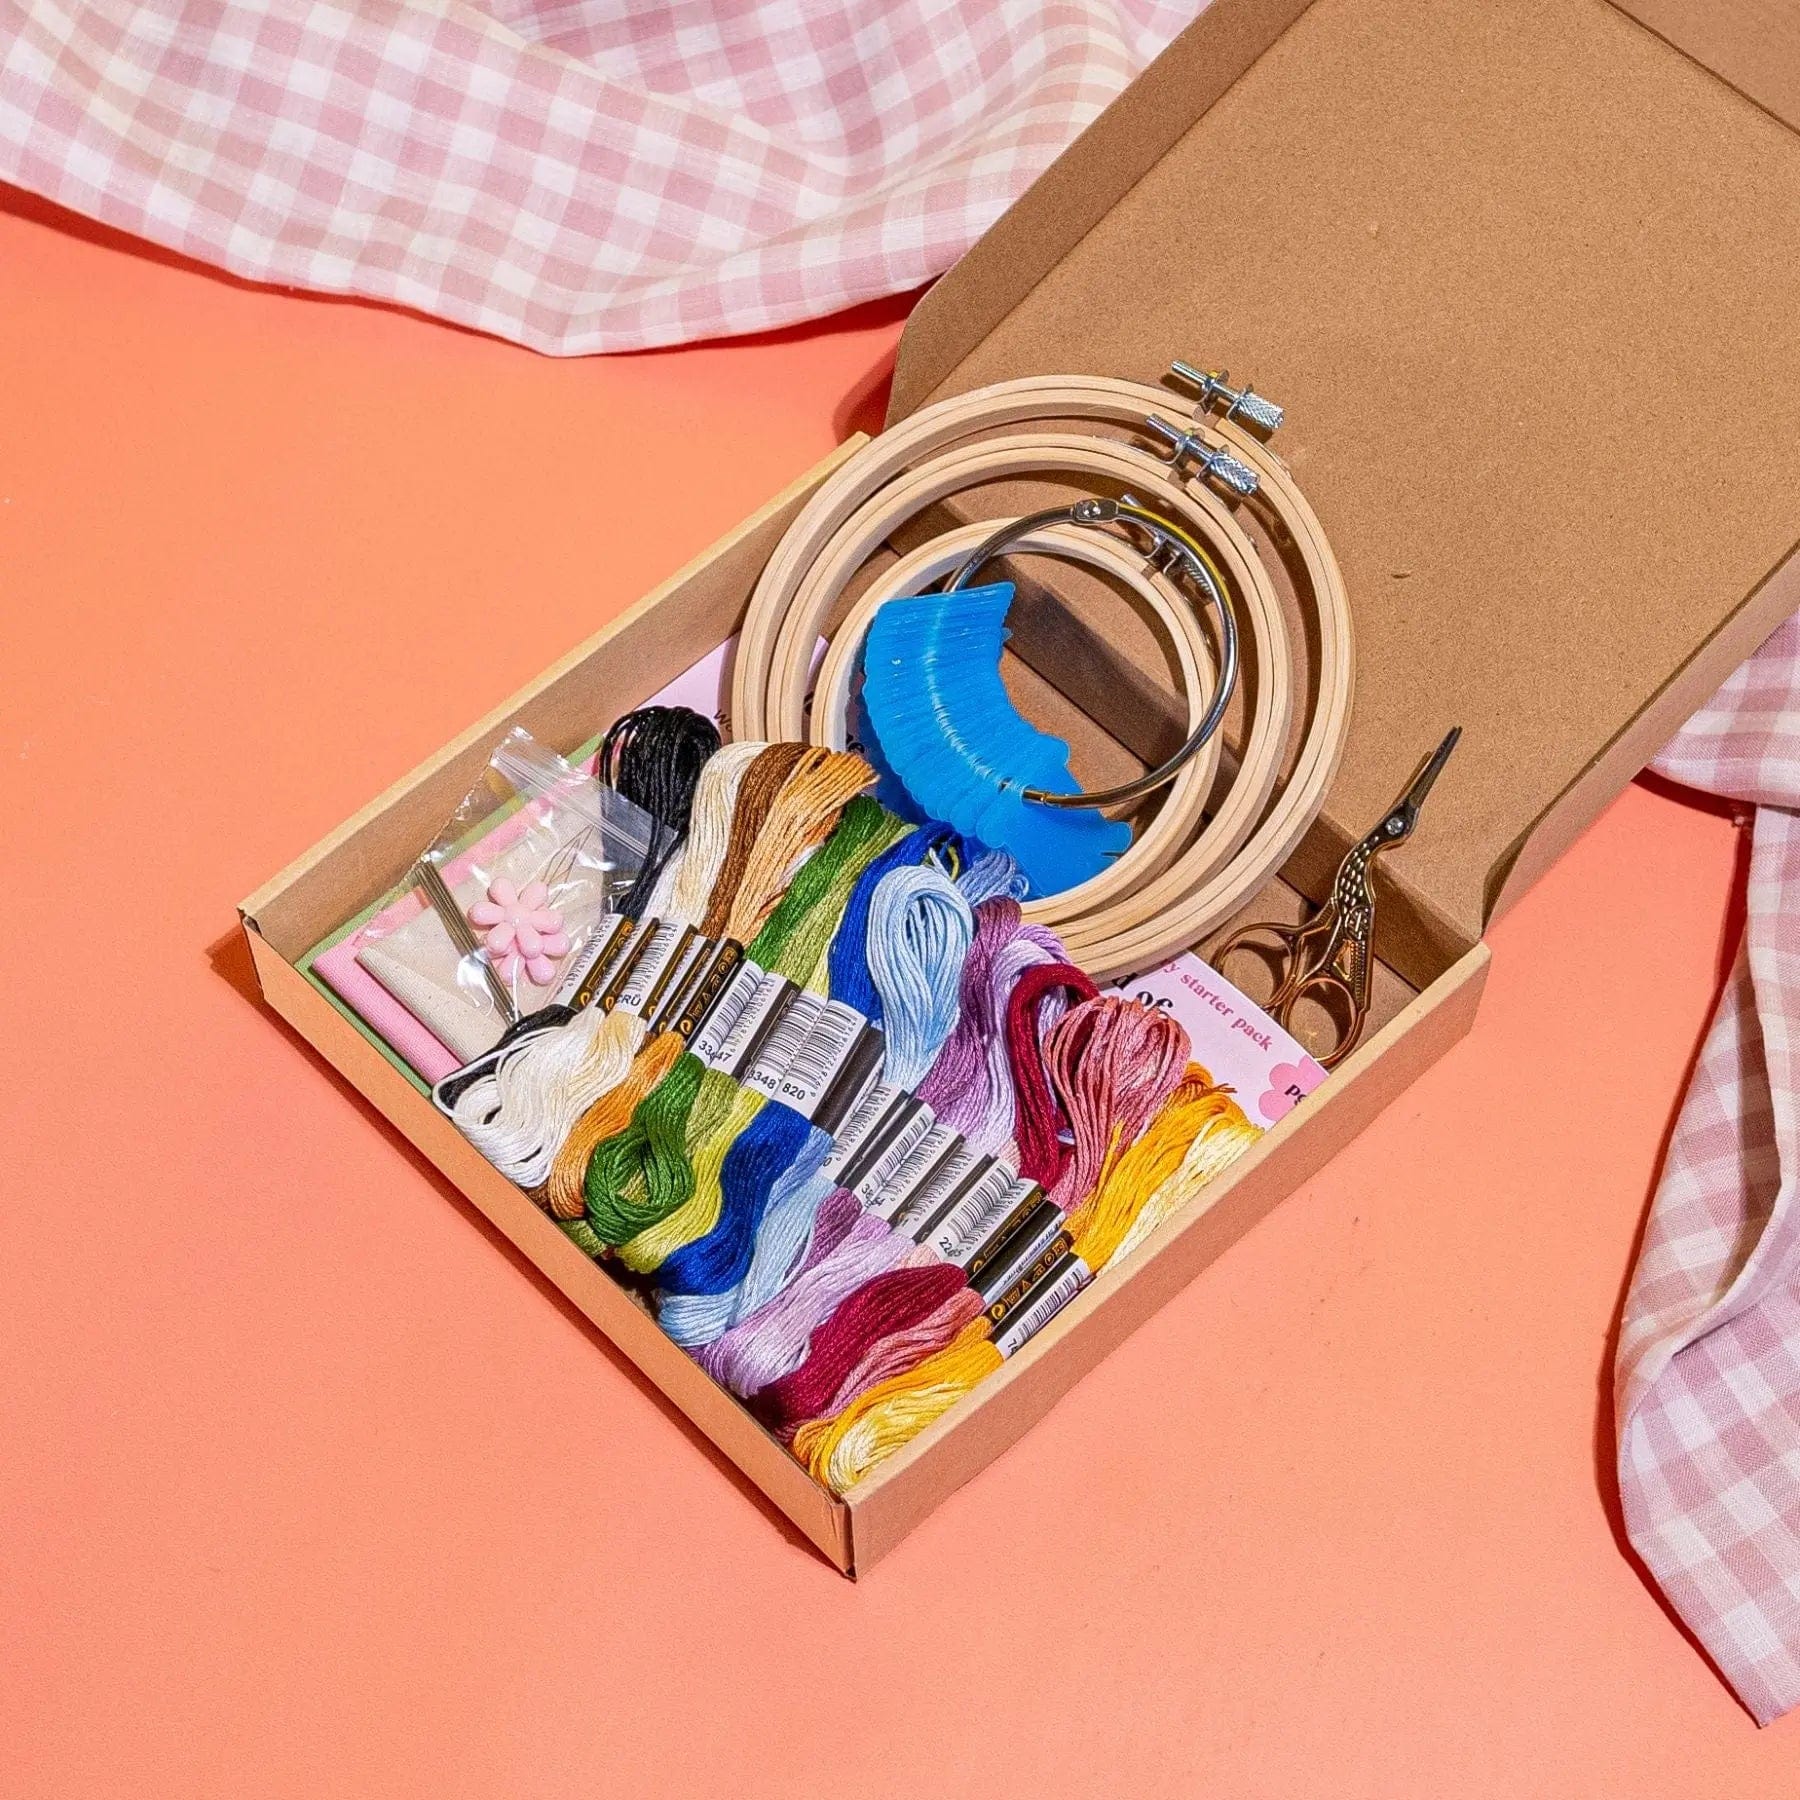
Your pack comes with everything you need to complete 3x embroidery pieces. Including:
⭐ Easy embroidery guide
⭐ 20x skeins of cotton thread in curated colours
⭐ Gold stork embroidery scissors
⭐ 3x pieces of linen in Nautral Speckle, Sage and Blush colours
⭐ 1x 10cm embroidery hoop
⭐ 1x 13cm embroidery hoop
⭐ 1x 15cm embroidery hoop
⭐ 9x steel embroidery needles
⭐ 2x flower needle threaders
⭐ 1x steel bobbin ring
⭐ 50x thread bobbins (to start your collection!)
Freebie Pattern
We've updated our popular 'Garden Jars' design into a 15cm hoop pattern to go along with your kit!
2x more patterns for your 10cm and 13cm hoop will be added soon.
Download PatternStarter Kit FAQs
What can I make with my kit?
Your kit includes enough materials for 3x projects, you can mix and match your hoop size and linen colour.
Your kit comes with enough thread to finish many, many projects! Once you're feeling comfortable with embroidery, why not try upcycling an item of clothing or stitching a piece of fabric you have at home?
Where do I buy extra colours?
If you'd like to purchase new colours, there is a range of places you can go!
Your local craft store will stock a large range of colours. Brands like DMC and Anchor are known for their quality, but you can also try other brands and options if you like their colour.
Online there are also heaps of options! If you'd like us to stock thread 'palettes' just let us know!
When buying thread, the most important thing is to keep track of the colour code if you're using it for a pattern. I recommend writing it on your bobbins included in your kit.
If you're doing your own creative embroidery and you don't need an exact pattern match, you can use any colours you like!
How do I display my designs when finished?
There are plenty of ways to display your finished piece.
The easiest option is to display your finished piece in the hoop you've stitched it with!
Another option is framing it. Treat it just as you would another flat art piece.
Finally you can repurpose your finished piece and use it like embroidered fabric! If you're skilled at sewing, you can create a cushion, bag or other sewn object with your piece. Or you can also cut out the shape and stitch it onto an existing item such as a denim jacket or tote bag.
There are so many options for using your finished piece!
Should I get the matching storage container?
I highly recommend it! Since our storage container is designed to hold your thread, scissors, needles and linen securely. And the sticker matches your embroidery supplies kit box.
But it's also not 100% necessary, as you can store your embroidery in virtually anything! Repurpose an old container, a pretty box from an online order or even go full granny and use a biscuit tin!
Will there be more freebie patterns coming?
Yes! We've started off with one of our most tote bag designs transferred into hoop form. But we have 2x more designs in the works, including a handy personalised name design for your 10cm hoop and a floral design for your 13cm hoop.
Embroidery Starter Kit - Handy Video Tutorials
Below are some handy video tutorials that will get you started on your first creative embroidery project!
Straight Stitch
This video from America Quilting is quick and to the point. Straight stitch is the foundation of all the embroidery you'll do and super simple to learn.
Back Stitch
Mary's video for Backstitch is handy as it shows two different ways to create this easy stitch. You'll use a backstitch frequently for outlines of shapes, so it's a great one to know!
Whipped Back Stitch
A whipped back stitch is such a fun stitch! It builds on a backstitch and is a simple way to create a smooth but textured stem shape. This video from Cutesy Craft is great because it shows how a whipped stitch can look either with the same colour or with a contrasting colour.
Satin Stitch
This video is also from Cutesy Craft and it's a simple and quick introduction to Satin Stitch. This stitch will be the bread and butter of your embroidery, especially if you're working on designs that 'fill in' many shapes.
French Knot
French Knot's get a bad rap for being a difficult stitch. But they're actually quite easy to do if you know the tricks! This video from River Birch Thread's shows clearly the trick to making nice, neat French Knots. And shows you where you might go wrong.
Lazy Daisy
This simple clip from Cutesy Craft shows you exactly how to make a beautiful Lazy Daisy stitch as well as create a flower using your Lazy Daisies!
Long & Short Stitch
This video from LoveCrafts is great because it shows how you shouldn't overthink the Long & Short stitch. The trick is not to try and make it perfect - and it will look great!
Split Stitch
We love this split stitch tutorial from Penguin & Fish because it's super simple and straight to the point. This stitch is great for line-work, with a smooth but textured effect.
Stem Stitch
Cutesy Craft's video about stem stitch is great! Like it's name suggests, it's a fantastic stitch for creating the stems of flowers and other beautiful textured lines.
Backstitch Filler
Cutesy Craft's video explains how you can fill in shapes like lettering with the simple backstitch. This is a great filler stitch because you're already familiar with how it works! And it creates a neat fill even if it's not perfect.
